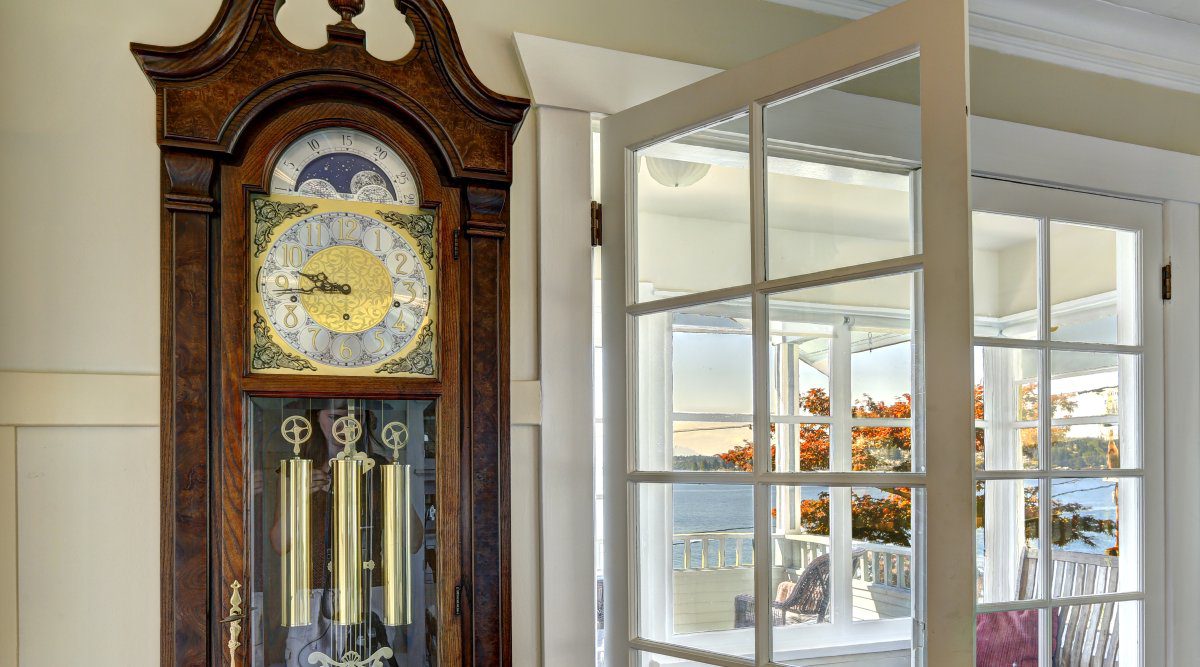
Step 1: Prepare the ClockThe first step is to prepare the clock for moving. This includes disconnecting the power, removing the pendulum, and wrapping the clock in a protective blanket. To disconnect the power, locate the power cord and unplug it from the wall outlet. Be sure to label the power cord so that you know which one belongs to the clock. To remove the pendulum, locate the pendulum release lever and pull it down. The pendulum will then come loose and you can set it aside. To wrap the clock in a protective blanket, lay the blanket down on the floor and place the clock on top of it. Be sure to wrap the blanket tightly around the clock so that it is protected from bumps and bruises. Step 2: Move the Clock Once the clock is prepared, it's time to move it. If you're moving the clock a short distance, you can do it yourself with the help of a friend or family member. However, if you're moving the clock a long distance, it's best to hire a professional moving company. If you're moving the clock yourself, be sure to use a dolly or cart to make the process easier. Be careful not to tip the clock over, as this could damage the clock or injure yourself. Step 3: Unwrap the ClockOnce the clock arrives at its new location, it's time to unwrap it. Be careful not to damage the blanket as you unwrap it. Once the clock is unwrapped, you can reconnect the power and replace the pendulum. Be sure to set the clock to the correct time. Step 4: Level the ClockOnce the clock is powered on, it's important to level the clock. This will ensure that the clock keeps accurate time. To level the clock, use a level to find the two highest points on the clock. Then, use a screwdriver to adjust the feet of the clock until it is level. Step 5: Enjoy Your New ClockOnce the clock is leveled, you can enjoy your new clock. Be sure to wind the clock regularly to keep it running.
Here are some additional tips for moving a grandfather clock:
Comments are closed.
|
This section will not be visible in live published website. Below are your current settings: Current Number Of Columns are = 3 Expand Posts Area = 1 Gap/Space Between Posts = 14px Blog Post Style = card Use of custom card colors instead of default colors = 1 Blog Post Card Background Color = current color Blog Post Card Shadow Color = current color Blog Post Card Border Color = current color Publish the website and visit your blog page to see the results |

 RSS Feed