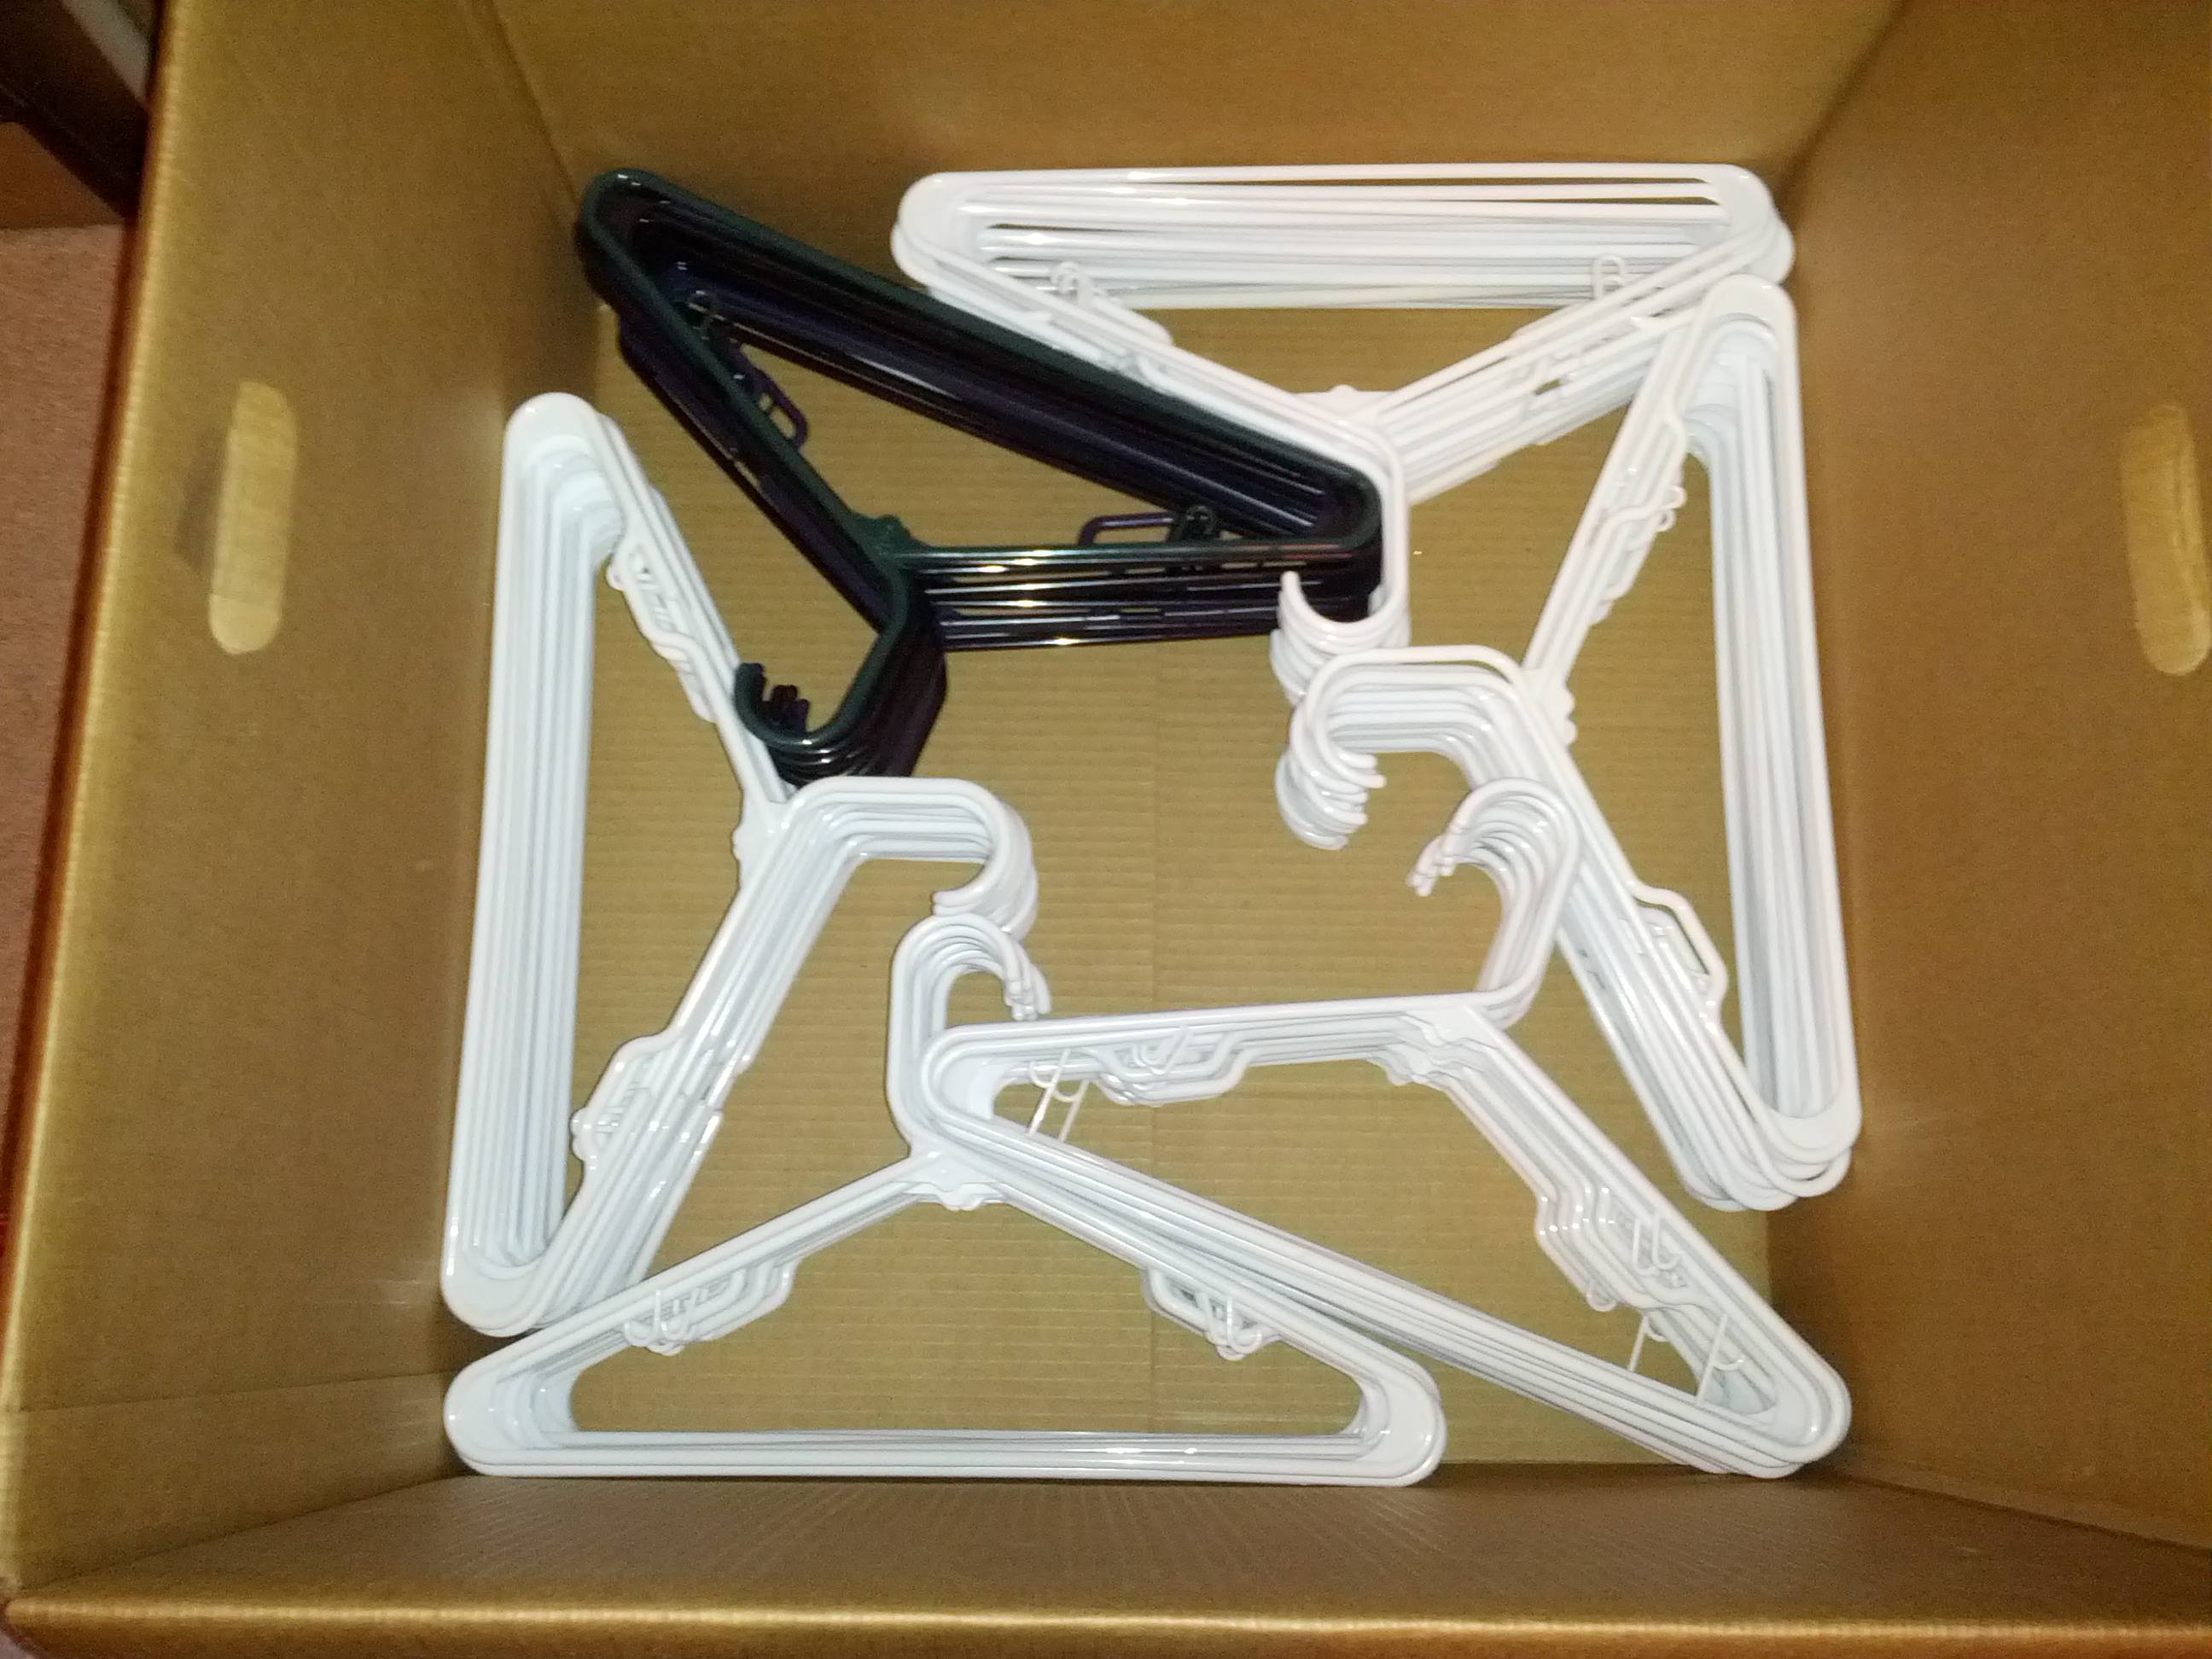
1. The Hanger Bundling Technique
One of the simplest and most efficient ways to pack up your hangers is to bundle them together. This method is especially great if you've got a lot of the same type of hanger, like all plastic or all wooden ones.
Here's how you do it:
The great thing about this technique is that it keeps the hangers neatly organized and prevents them from getting tangled up. Plus, the bundled hangers are super easy to transport and store, whether you're packing them in a box or just tossing them in the back of your car.
Just be sure to label each bundle so you know what type of hanger is inside. That way, when you're unpacking at your new place, you can quickly identify which bundle goes where.
2. The Hanger Hanging Method
If you're looking for a way to keep your hangers in pristine condition during the move, try the hanger hanging method. This involves actually hanging your hangers on a rod or bar, just like they're displayed in your closet.
Here's how it works:
This method is especially great if you've got a lot of delicate or expensive hangers that you want to keep in pristine condition. The hangers stay neatly organized and won't get crushed or tangled during the move.
Just be sure to measure the space in your moving vehicle beforehand, so you can find a rod that's the right size. And don't forget to label the rod so you know exactly where those precious hangers are going in your new place.
3. The Hanger Bagging Technique
If you're short on space or just want a super compact way to transport your hangers, try the hanger bagging technique. This involves placing your hangers in a plastic bag or garment bag for easy, tangle-free moving.
Here's how to do it:
The great thing about this method is that it keeps your hangers protected and organized, while also taking up minimal space in your moving truck or car. Plus, the bags can double as storage containers once you're all settled in your new place.
Just be sure to use high-quality, durable bags to prevent any rips or tears during the move. And if you're using garment bags, make sure they're large enough to accommodate your hangers without squishing them.
4. The Hanger Stacking Approach
If you're short on time or just want a super quick way to pack up your hangers, try the hanger stacking approach. This involves nesting your hangers together to create a compact, easy-to-transport stack.
The great thing about this method is that it's super fast and easy to do, and it takes up minimal space in your moving boxes or vehicle. Plus, the nested hangers are less likely to get tangled or damaged during the move.
Just be sure to handle the stacks carefully, as the hangers can sometimes come undone if you're not gentle. And if you've got a mix of hanger types, it's best to keep them separated to prevent any scratches or damage.
5. The Hanger Clip Hack
If you're looking for a way to keep your hangers organized and easy to transport, try the hanger clip hack. This involves using binder clips or clothespins to clip your hangers together in sets.
Here's how to do it:
The great thing about this method is that it keeps your hangers neatly organized and easy to grab and go. Plus, the clips or pins can double as a way to label the sets, so you know exactly where each type of hanger belongs in your new place.
Just be sure to use sturdy clips or pins that can handle the weight of your hangers without breaking or slipping off. And if you're using binder clips, make sure they're the larger, sturdier variety to prevent any mishaps.
So there you have it, folks – five super effective ways to pack up your hangers for your next move. Whether you're a hanger bundling pro or a clip-happy newbie, there's a method here that's sure to make your moving experience a whole lot easier.
Happy packing, and may your hangers arrive at your new home in perfect condition! Comments are closed.
|
This section will not be visible in live published website. Below are your current settings: Current Number Of Columns are = 3 Expand Posts Area = 1 Gap/Space Between Posts = 14px Blog Post Style = card Use of custom card colors instead of default colors = 1 Blog Post Card Background Color = current color Blog Post Card Shadow Color = current color Blog Post Card Border Color = current color Publish the website and visit your blog page to see the results |

 RSS Feed